

GitHub for Noobies part 1
GitHub for Noobies part 1 will be the small introduction for new people.
This will be an entry tutorial for beginners, but I hope that someone will find it useful. Goal – we create a new repository on GitHub, commit the first changes, create branch for some feature. Then we merge it. On the way, we’ll learn a little bit of using git and maybe some other nice tools. Due to the length, the guide is divided into several parts. In this we will create a repository and start locally modify it.
At the very beginning we are faced with a choice – do we mainly use the Git command line, the GitHub Desktop window program or the GitHub online pages. I will focus on my proposal in which we will use a little bit of everything.
Creating a repository

We start, of course, from setting up an account at GitHub.com, but this is obvious evidence. After logging in, in the upper right corner, click on the plus and select New repository.
We will see a few options related to the repository, of which the most important is of course the name:


As you can see, everything can be done online – for example, add a new file. We can also edit files online (eg README.md) but we will do it better …
GitHub Desktop
That is why I suggest you download the GitHub Desktop mentioned above. An additional advantage is that it will also install the Git command line version, which will be useful later. During the installation, we will be asked to provide your account details:
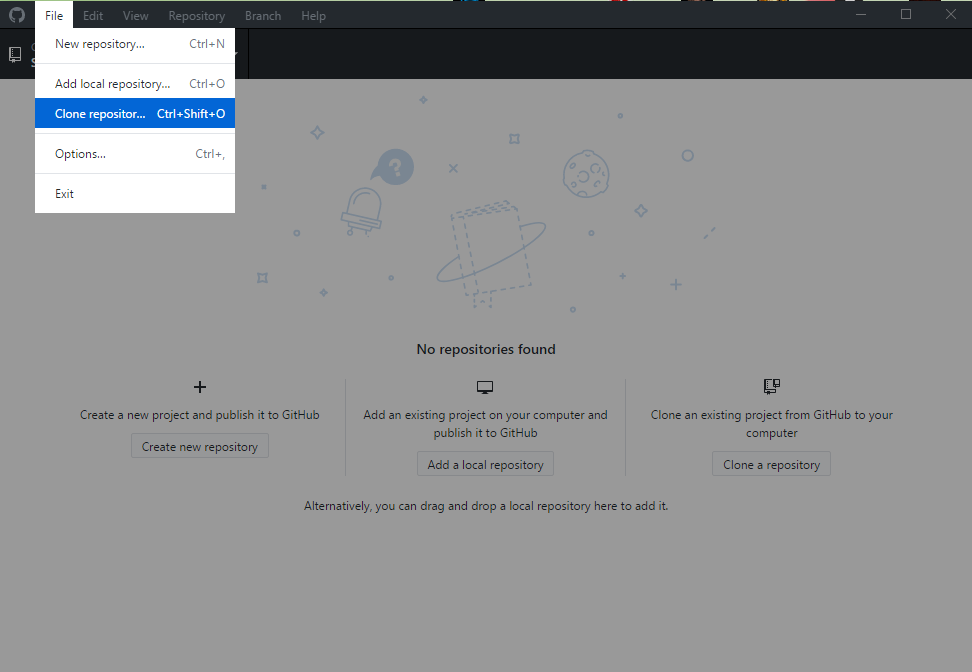
We choose the file option File and start! From the upper left corner, click on Clone Repository:
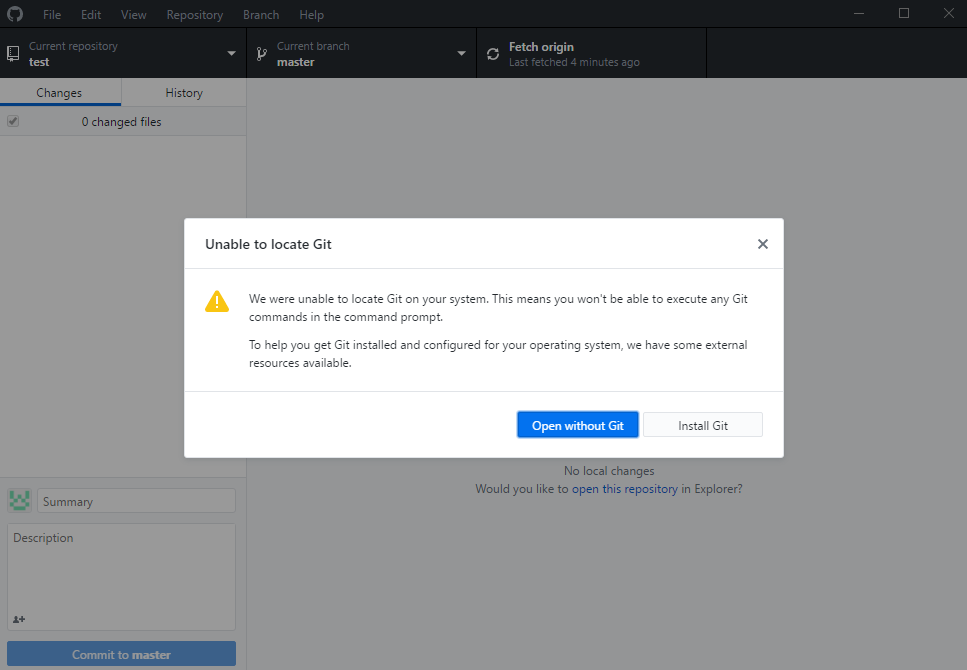
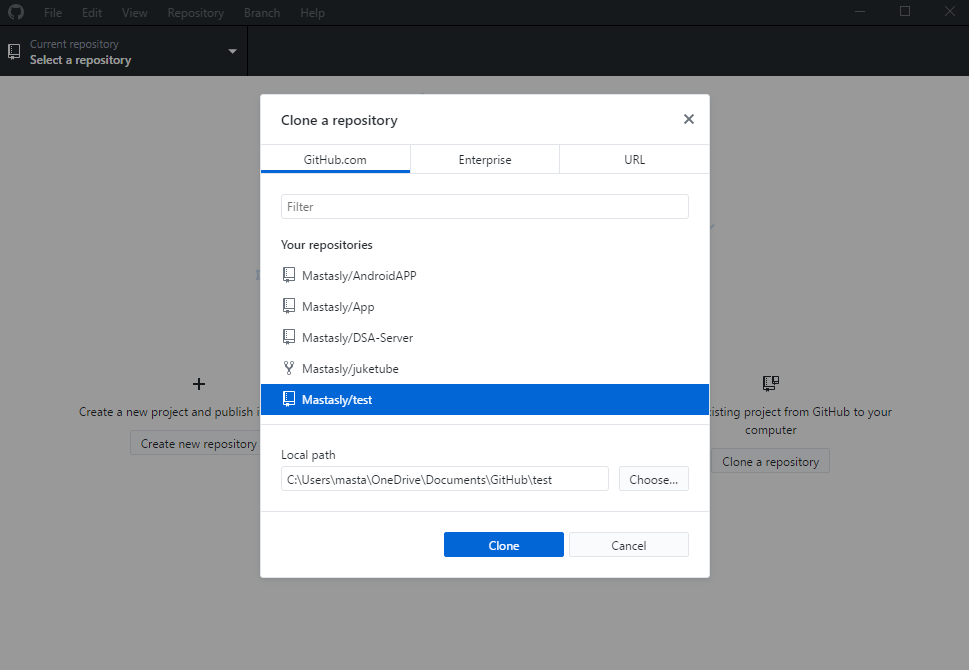
As you can see below our Test repository is also Local Path option where we can place our Git file as we wish. We can also change the path of our repository in command line by clicking Repository Open in Command Promp and choose it to open without installing Git or we will be redirected to install Git.

If we move to the newly created directory, we will see the modest content of our repository there:

At this point, we are ready to start working on our local “code”.
Readme file
We will start with a trivial matter, but we will learn something by the way. As you have noticed, the README file has the extension md, from Markdown, which is the syntax for formatting the text. We can add bold, headers, pictures and much more. You probably met with something like this on internet forums. A good description of this syntax can be found on the pages of GitHub ( check here )
Let’s edit the README.md file (in any tesst editor) so that it contains some basic elements:
# NEverything NEverything library lets you create **everything** you want, just straigt from the code. ## Introduction This is really great library. And it contains GitHub logo, downloaded from... [GitHub](https://github.com/logos), what makes it event better:  ## Examples If we do not want to use simple `NEverything.CreateAllWhatIWant().Run()`, we can be more precise. For example, in C#: ```csharp var moneyGenerator = NEverything.CreateWhatIWant(_ => CreatesMoney()); var money = moneyGnerator.Run(); ```
One of the less obvious issues is to attach images. Since they must be pasted through the link, the question remains where to place them physically. Most often, if there are not enough, they are in the root directory of the repository. If we have a folder containing documentation in the project, sometimes the images are linked from there. The most rare thing is linking to external resources – eg a product logo. Remember that the README.md file is part of our project, just like the pictures. They should form a closed whole and not be too big – when someone will forfeit our project in the future, it does not make sense to download megabytes of media. Despite the extended possibilities of Markdown syntax, md files remain readme files, not full web pages! In the above example, I link to a new folder and file, so I have to remember to create them locally.
Summary
BTW. a list of recognizable languages for code blocks is available in the GitHub Documentation.
Congratulations! We created the project and made changes in it. There is nothing else to do but send them to GitHub, which we will do in part two.